Setting up Office365

Contents
› Web App
› To Set up Email in Microsoft Outlook for Windows
› To Set up Email in Mac Mail
› To Set up Email in Outlook for Mac
› To Set up your Email on your iPhone or iPad
› To Set up your Email on your Android Device
Windows - for a Windows computer you can either use the Outlook Web App or you will need Microsoft Outlook 2010 or higher installed on your computer.
Apple Mac - the Office365 system is compatible with Mac Mail and Outlook for Mac 2011 or 2016.
To access the web app, type outlook.office365.com in the address bar of your web browser. You will then see the login screen
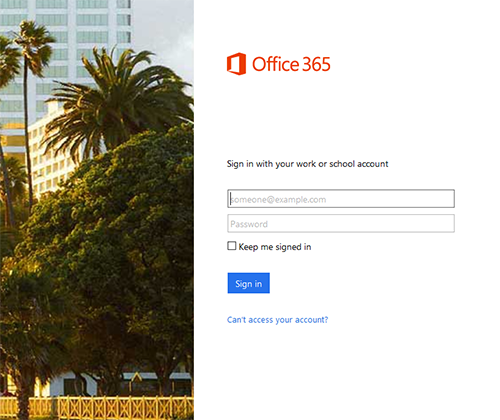
Enter your email address and password and click on Sign in.
From this interface you can access you inbox, calendar, contacts, tasks and notes. You can also setup out of office replies from when you are on holiday or away from the office.
By clicking on the blue box in the top left hand corner of the screen, you can also access the other services available with your particular subscription.

To Set up Email in Microsoft Outlook 2010, 2013 or 2016 for Windows
If you have email that you would like imported in to the Office365 email system, please let me know so I can arrange to take a copy of your old email before we setup your new email account. The following is the setup for Outlook 2013, however the basic process is the same for Outlook 2010 and 2016.
1. Close Microsoft Outlook
2. Go into Control Panel, and select Mail
3. Click on Email Accounts
4. Click New
5. The select should be on Email Account, click Next

6. Fill "Your Name", this is what is displayed when you send an email. Fill in your email address and the password we have sent you.
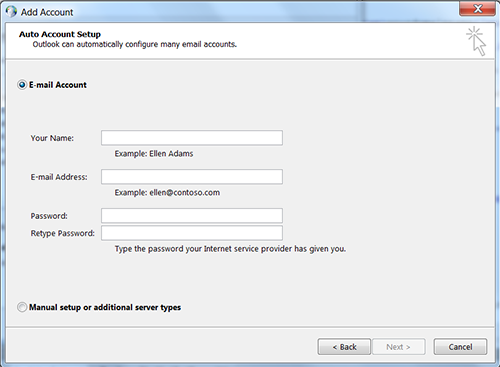
7. Click Next
8. Outlook should automatically detect the settings to configure the account
9. Outlook should then tell you that the email account is setup and ready
10. Close the Mail window and the Control Panel window, open Outlook and it should start downloading any email, contacts, calendar appointments, tasks and notes you have stored on the server.
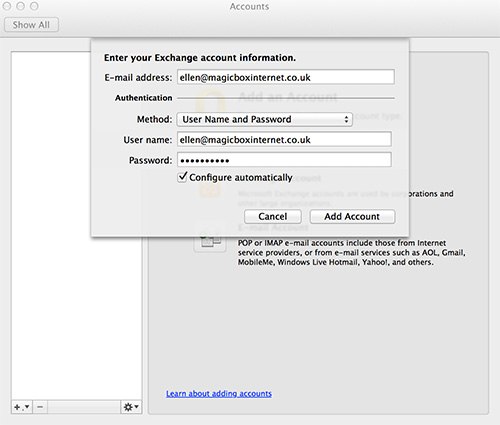
1. Open Mac Mail
2. Add Account, Select Exchange

3. Click Continue
4. Fill in your information
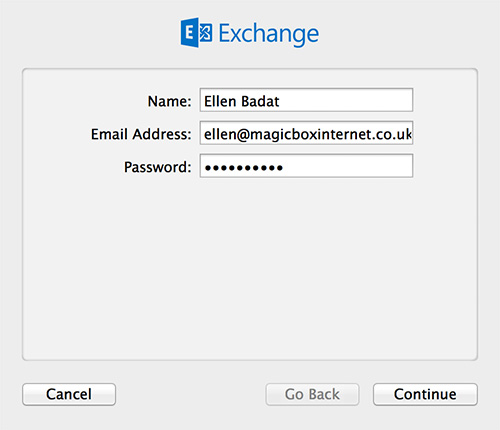
5. Click Continue
6. Mail should search for the settings
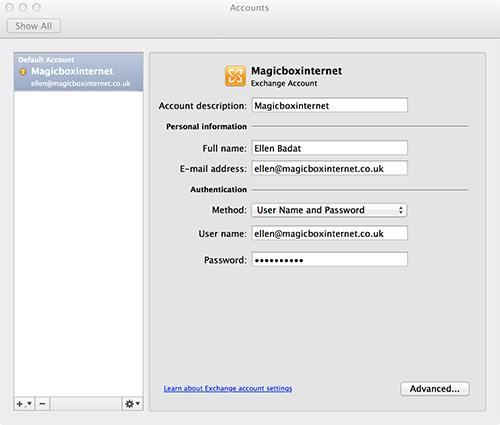
9. Once complete you should receive an Account Summary page
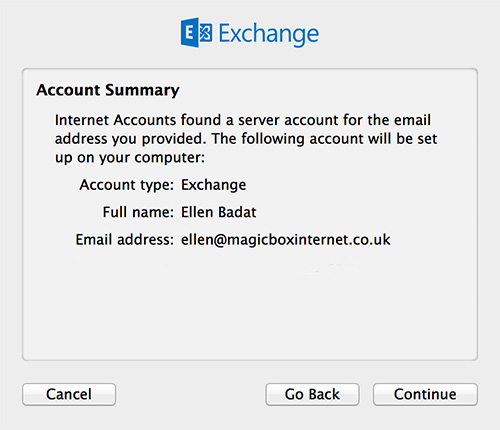
10. Click Continue
11. You can then select the apps you want to synchronise with the Office365 system. To get the most from the Office365 system I recommend selecting all the apps and click Done
12. Mail should start downloading all of your email.
To Set up Email in Outlook for Mac
1. Open Outlook for Mac
2. Go to Preferences and Accounts
3. Click on Exchange Account

4. Enter your email account details and password
5. Make sure "Configure Automatically" is ticked
6. Click Add Account
7. Outlook should say "Detecting Exchange Server"
8. Outlook may ask you if you want to allow the server to configure the settings in Outlook. Tick the box and click Allow
9. Your account should now be added
10. You can then close the Accounts window
11. Outlook will then start to download your email, synchronise your calendar, contacts, tasks and notes.
To set up your email on your iPhone or iPad
iPhones and iPads follow the same setup procedure. Depending on which version of IOS your device is using the screen may look slightly different from the pictures below.
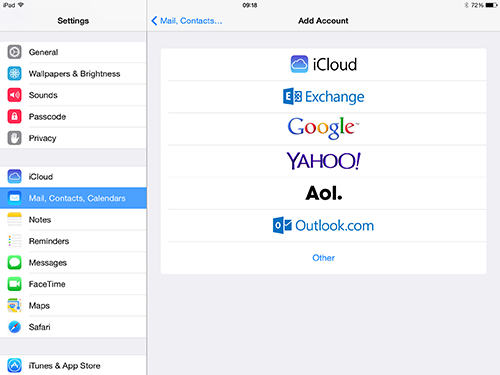
1. Go into Settings
2. Then Mail, Contacts, Calendars
3. Click Add Account
4. Select Exchange
5. Enter your email address, password and a description for the account
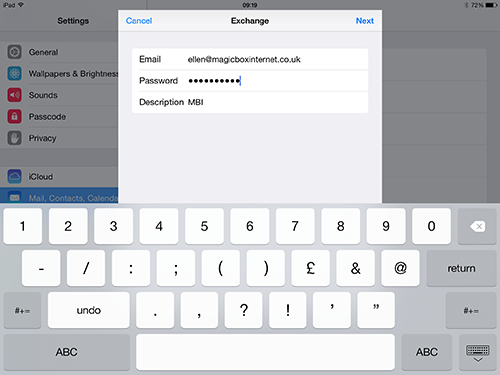
6. Click Next
7. The device will say “Verifying”, then all the boxes will be ticked.
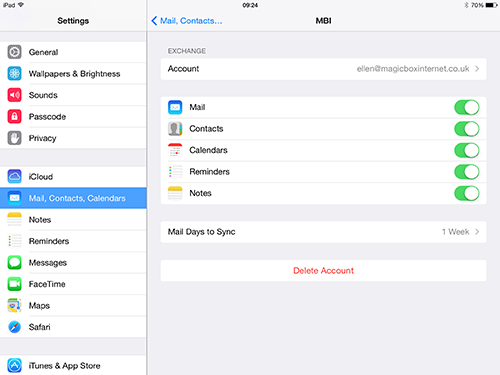
8. You should then see this screen

9. Click Save
10. The device will add the account and return you to the Mail, Contacts, Calendars screen
11. Click on the new account you have just setup
12. Under the “Mail Days to Sync” option, it is set automatically to 1 Week, I would suggest changing this to longer as otherwise the device will only synchronise 1 week of your email
13. Go back to Mail, Contacts, Calendars (top left of the window)
14. If this new account is the main account you want to use on your device for sending email, storing contacts and calendar appointments, then scroll down the Mail, Contacts and Calendars page to the section called Mail
15. Change the Default Account to the new email account you have just setup
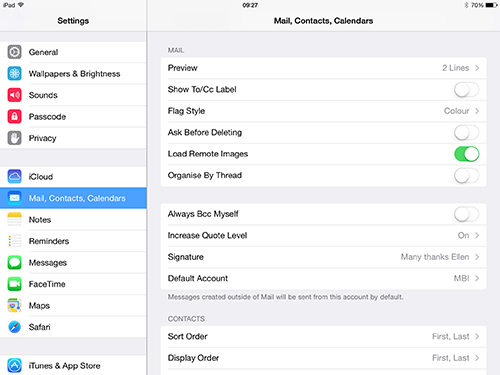
16. Do the same with Contacts and Calendars
17. Press the Home button (the round button on the device at the bottom)
18. Go into the Mail application
19. The new account should be listed under “Mailboxes” and the device should start downloading your email, contacts, calendar, etc. that you have stored on the server.
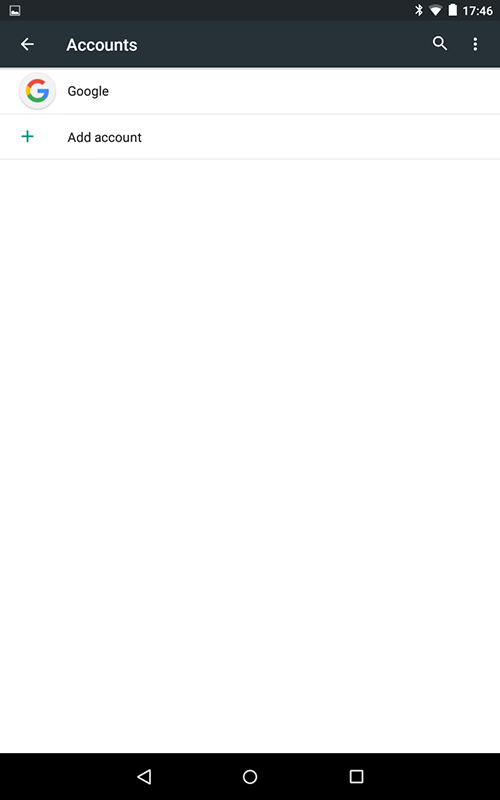
To Set up your Email on your Android Device
Android devices vary in the setup procedure needed to configure the Office365 email account. However the basic details you will need are:
› Your email address/user name
› Your password
› Server: outlook.office365.com
These details are provided when your account is setup.
The following show the setup procedure on a Nexus 7 device using Android 5.1.1 (Lollipop).
1. Go into Settings
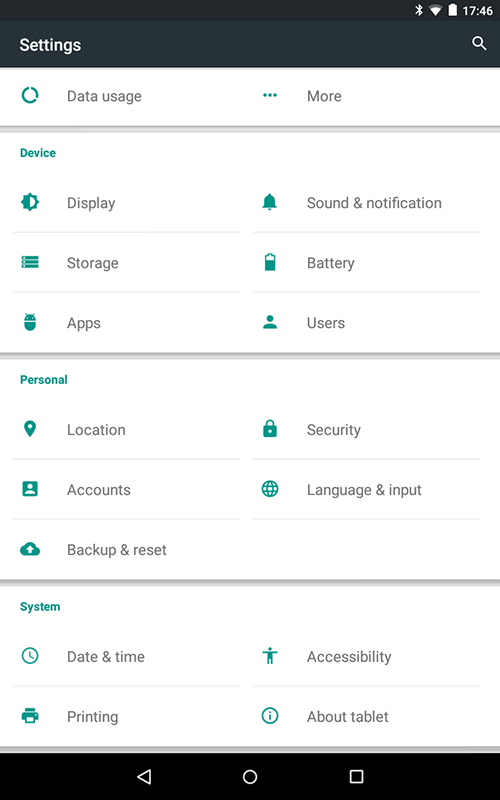
2. Scroll down to Accounts and click Add Account
3. Select Exchange
4. Enter your email address
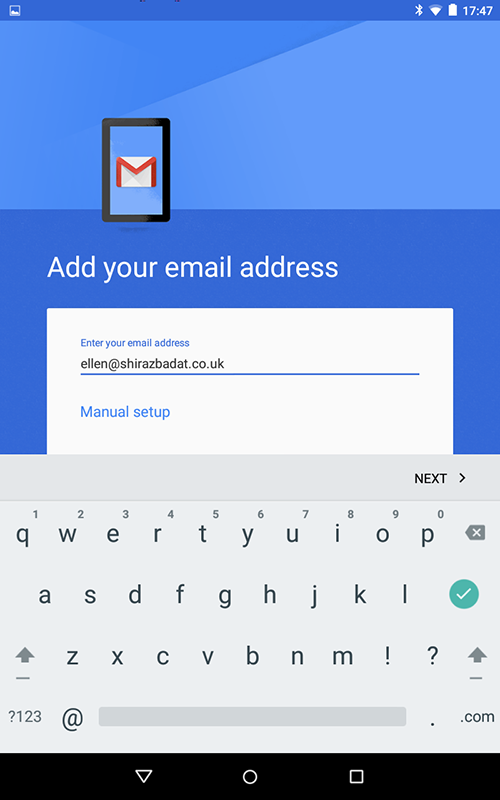
5. Click Next
6. Enter your password
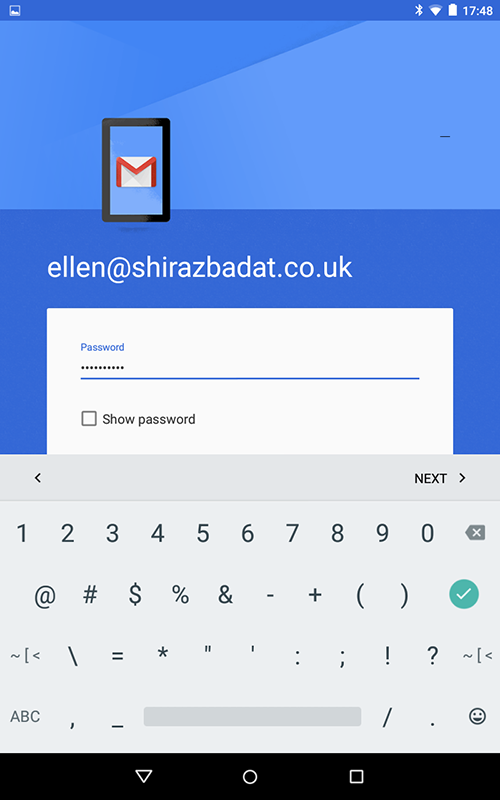
7. Click Next
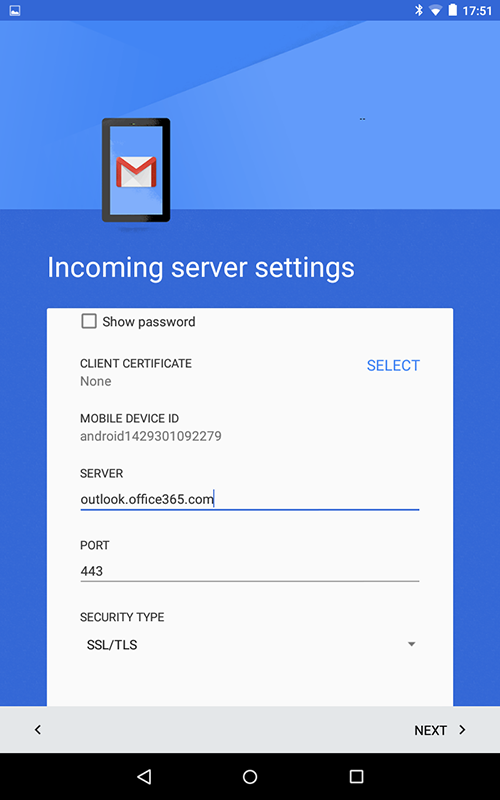
8. The device will say "retrieving account information"
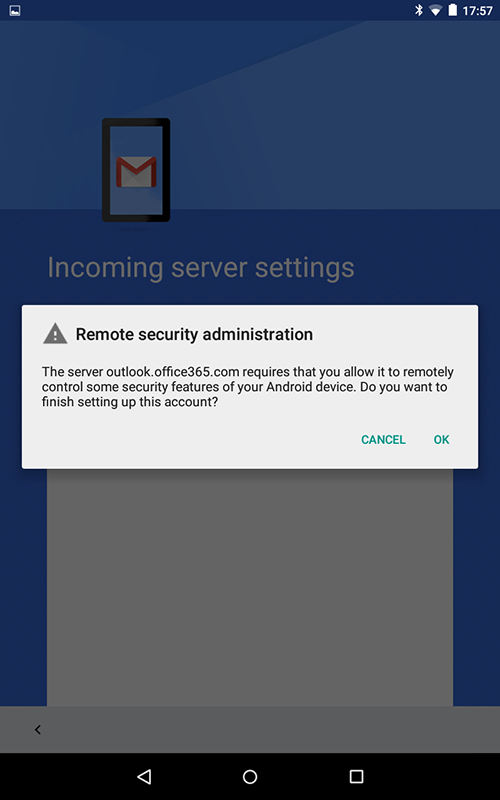
9. You will then see Incoming server settings
10. Update the SERVER to outlook.office365.com, click Next
11. The device will say "validating server settings" and then ask you to agree to Remote security administration, click OK
12. You will then see Account options

13. Choose the options you would like and click Next
14. The account will then be created
15. Click Next
16. You will be returned to the accounts screen
17. Click the Gmail icon on the device
18. Your email should now be displayed, if you have more than one email account setup then you may need to swap to the new email account by clicking Inbox in the top left of the screen
19. Touch the email address that is currently active and you will see a drop down list which shows the other email addresses

20. Select the new email address from the list and your emails should be displayed.
If you need help setting up Office365 on your particular device please get in touch.